How to Take Great Outdoor Photos with Amanda Ray
Understand Light and Take Advantage of It
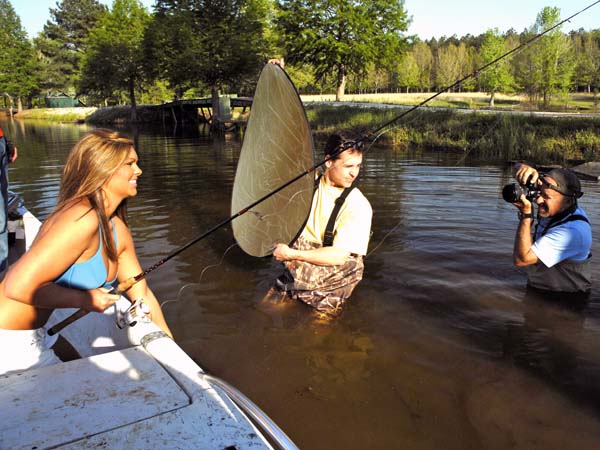
 Editor’s Note: Summer is here, and for many families that means fun – sunny trips to the beach, long weekends at the lake and lazy days of fishing. Thanks to digital cameras, anybody can capture these treasured moments in literally hundreds of snapshots. However, quantity isn’t quality. This week, Dave Morris of Birmingham, Alabama, an outdoor photographer for over 30 years and Brad Dale of Wolf Camera in Hoover, Ala., who’s been in the photo business for 25 years, will tell us how to make Editor’s Note: Summer is here, and for many families that means fun – sunny trips to the beach, long weekends at the lake and lazy days of fishing. Thanks to digital cameras, anybody can capture these treasured moments in literally hundreds of snapshots. However, quantity isn’t quality. This week, Dave Morris of Birmingham, Alabama, an outdoor photographer for over 30 years and Brad Dale of Wolf Camera in Hoover, Ala., who’s been in the photo business for 25 years, will tell us how to make the most of a point-and-shoot digital camera in the outdoors. the most of a point-and-shoot digital camera in the outdoors.
Sunrise and sunset can present some special challenges for photographers. But if you know your camera, you can take some amazing pictures at those times of the day. Usually, your camera will automatically set its exposure by the brightest object in the frame. If you’re photographing a sunrise or a sunset, that object is the sun. You’ll often end up with a dark-red disk in the middle of a dark photo with little detail. If you’ve done your homework, you’ll be able to override your camera’s exposure meter and choose your exposure. Morris explains, “It all depends on the particular sunrise/sunset you’re photographing, and what you want the end result to be.” You may want a brighter picture that shows the landscape or a darker picture that shows a more-colored sunrise or sunset. Altering the exposure can help you capture highlights on clouds or rays of sunlight.
“Next, try aiming the camera, so the sun is on the side of the frame, rather than in the center,” Morris suggests. “Then press, and hold the shutter button. Aim the camera at the sun, and release the shutter. When you hold down the button, the camera will set the automatic exposure using the light in that part of the sky, rather than the ultra-bright sun.” With some cameras, you can accomplish this by pressing the button halfway down, then aim it at the sun and press it down completely. “Although I trust the automatic-exposure meter, I also want to be able to override it and m ake my own adjustments.” ake my own adjustments.”
Dale adds, “Find the best light. Sometimes a different time of day will greatly improve your light conditions. If possible, take the same photograph several times throughout the day to capture the various kinds of lighting. Portraits are best taken at sunrise or sunset, because the light is softer and warmer.”
Be a Flasher:
Both experts strongly advise using your flash for almost every photo, even in ones taken in bright light, especially true if you’re photographing people flash will illuminate their faces and bring out their eyes and their expressions. “You want to avoid raccoon eyes,” Dale mentions. Keep in mind that a flash’s range is usually less than 10 feet.
Tomorrow: Use Your Feet and Getting Good Prints |